
The Snowlord Workshop — Artisanal craftsmanship & technical excellence
Before manufacturing
The birth of a product
In our engineering office, we imagine ideas, design them, size them, and put them to the test. We let creativity fully express itself, without setting barriers.
Then, only the projects that have proven themselves through extensive testing ultimately join the Snowlord range.

Manufacturing steps
Step 1
Base: cutting & CNC machining
The base is cut and CNC-machined according to the targeted geometry, ensuring high precision and optimal durability.

Step 2
Edge installation
The steel edges are carefully positioned and adjusted along the base, then sealed with precision. This essential step ensures optimal grip on hard snow and guarantees the board’s longevity.

Step 3
Anti-vibration rubber
Applied over the edges, tip, and tail, it absorbs impacts and filters vibrations for a smooth, stable, and precise ride.

Step 4
Titanal I
The first Titanal sheet, CNC-cut, stabilizes and stiffens the board without ever compromising its lightness or maneuverability. The true backbone of the Snowlord, this rare and costly material—now used in very few high-end boards—gives our construction exceptional stability and responsiveness.

Step 5
Fiberglass I
First fiberglass layer with PEP sheet at tip and tail, ensuring flex, consistency, and structural control.

Step 6
Core preparation
Ash selection, profile machining, and insert integration. The edges and ABS plates are adjusted with artisanal precision.

Step 7
Core placement
Manually positioned in the mold using centering balls, ensuring perfect alignment and balanced flex along the entire length.

Step 8
Fiberglass II
Second fiberglass layer and PEP sheet to reinforce structural cohesion.

Step 9
Titanal II
The second Titanal sheet, precisely CNC-cut, stabilizes and stiffens the board without ever compromising its lightness or maneuverability. The true backbone of the Snowlord, this rare and costly material—now used in very few high-end boards—gives our construction exceptional stability and responsiveness.

Step 10
Molding
Once all the composite sandwich layers are assembled, the board is placed in a mold and pressed at 90 °C for 30 minutes. This sandwich molding process allows the resin to cure evenly and bond all materials perfectly, guaranteeing a structure that is both rigid and durable.

Step 11
Trimming
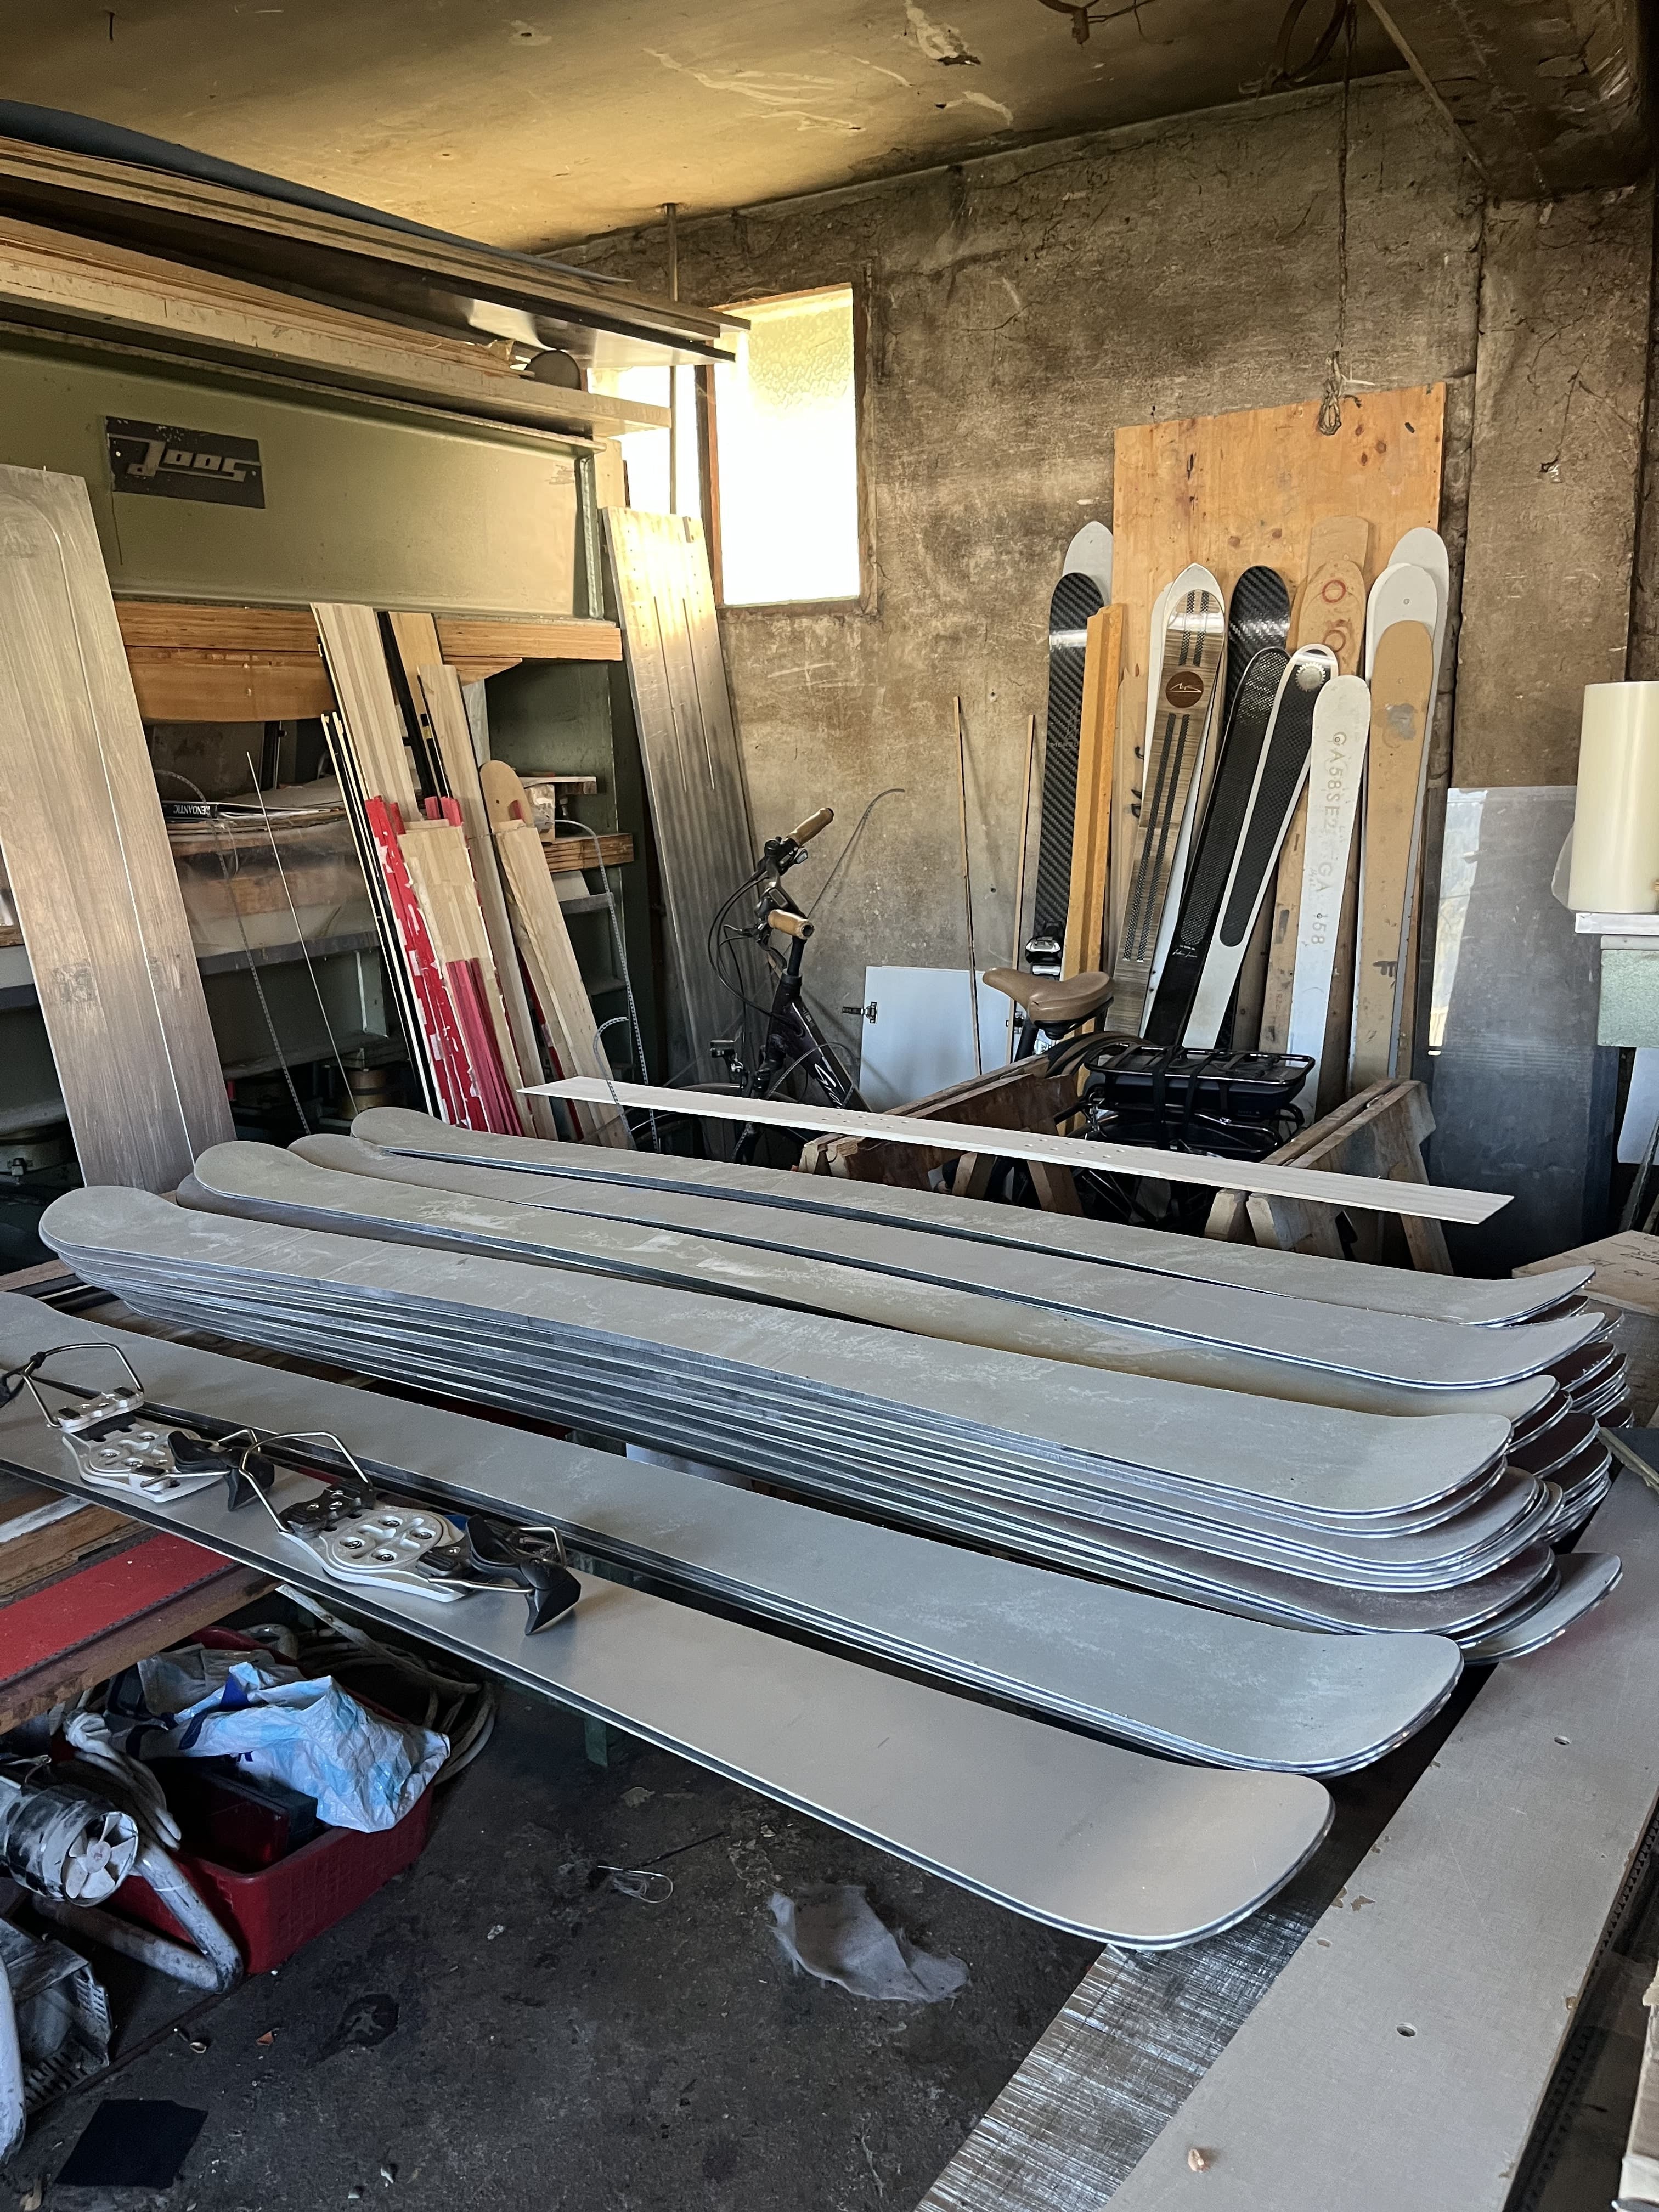
After demolding, each board is cut with a precision saw, ensuring clean, consistent outlines before the hand-finishing work begins.

Step 12
Sanding & shaping
Sanding and shaping: surfaces are then hand-sanded, edges tuned, and softened until the lines become fluid and harmonious— true to the Snowlord signature.

Step 13
Tip & tail curvature
Tips and tails are heated and formed in a dedicated press, giving them the exact curvature that delivers the board’s suppleness and responsiveness.

Step 14
ICP painting
Applied to the ICP sheet before assembly, it gives the board its final color and ensures a perfectly uniform finish. This controlled layer guarantees a stable shade, a clean finish, and perfect visual consistency along the entire length of the ski.
Step 15
Screen printing on ICP
A silk screen is applied to the ICP sheet to deposit paint according to the desired pattern. This screen-printing technique produces crisp, deep, and perfectly controlled colors, ensuring faithful design reproduction across the entire surface of the board.
The final step
Top sheet installation & finishing
Then comes the final stage: installing the top sheet — Snow Lord’s signature design, imagined and created by us. Printed using silk sheets applied over ICP, it gives each board its own identity: a subtle alliance of visual elegance and technical protection.
After this step, each board passes through our hands for final touch-ups and finishing: fine sanding, polishing, flex verification, and glide control.
Finally, each Snow Lord is fully revitalized, cleaned, waxed, and inspected down to the smallest detail before leaving the workshop.
Snowlord Essentials
-
 Sale
SaleBlack Snowlord
Regular price €999,00 EURRegular price€1.299,00 EURSale price €999,00 EURSale -
Snowlord white pack with PHK bindings
Regular price €1.349,99 EURRegular price€1.599,00 EURSale price €1.349,99 EURSale -
Customizable Snowlord Snowboard
Regular price €1.049,99 EURRegular price€1.349,00 EURSale price €1.049,99 EURSale -
 Sale
SaleWhite Snowlord
Regular price €999,00 EURRegular price€1.299,00 EURSale price €999,00 EURSale





 International
 Delivery on the slopes